You can create your own GPT-powered chatbot, with no code required.
Step 1: Getting Started
First things first, I needed a GPT-Plus subscription to access the new Custom GPT feature. Once subscribed, I navigated to the ChatGPT website. The interface was user-friendly, and I quickly found the ‘My GPTs’ button.
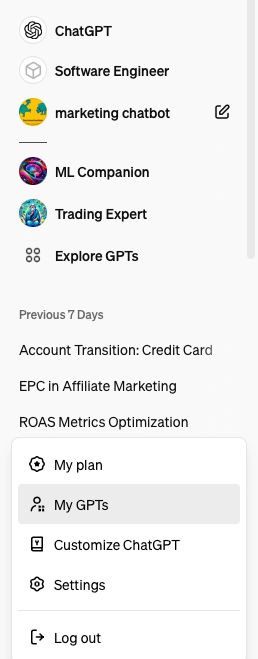
Then after clicking My GPTs there is I quickly found the ‘Create a GPT’ button.
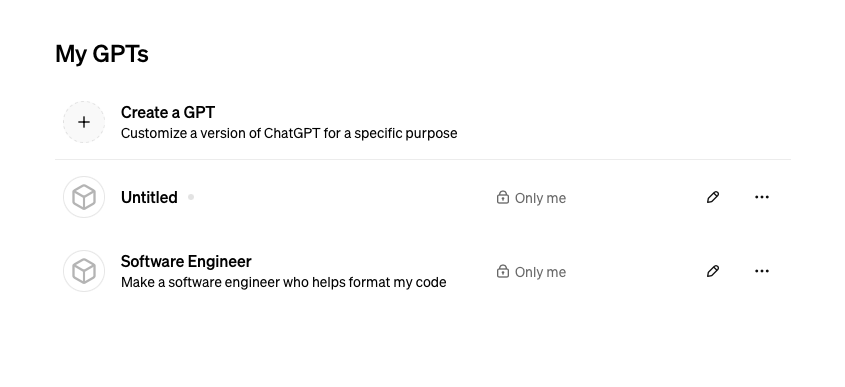
Step 2: Naming and Describing Your GPT
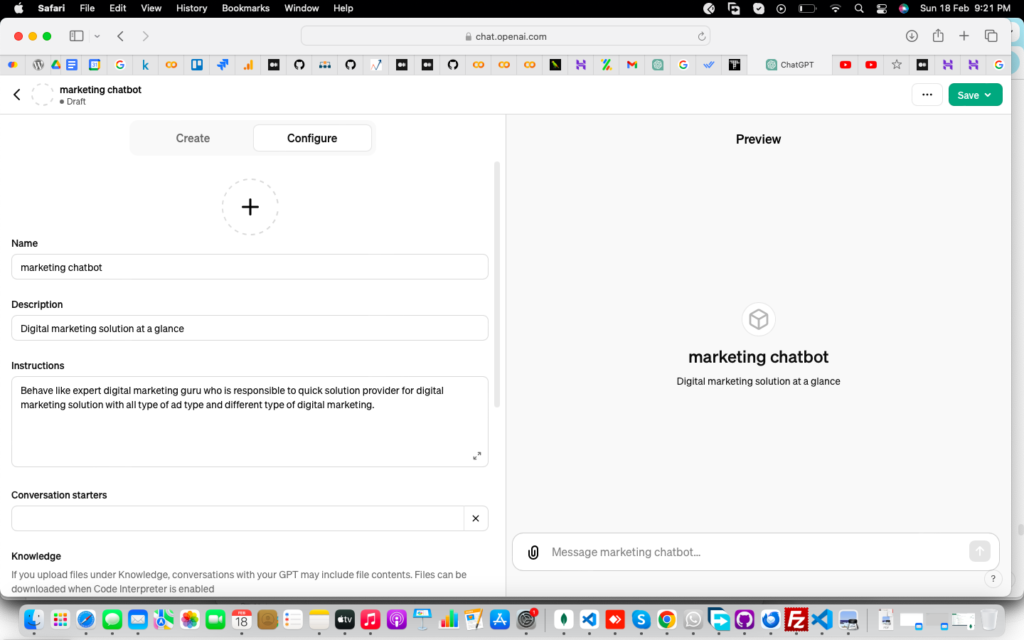
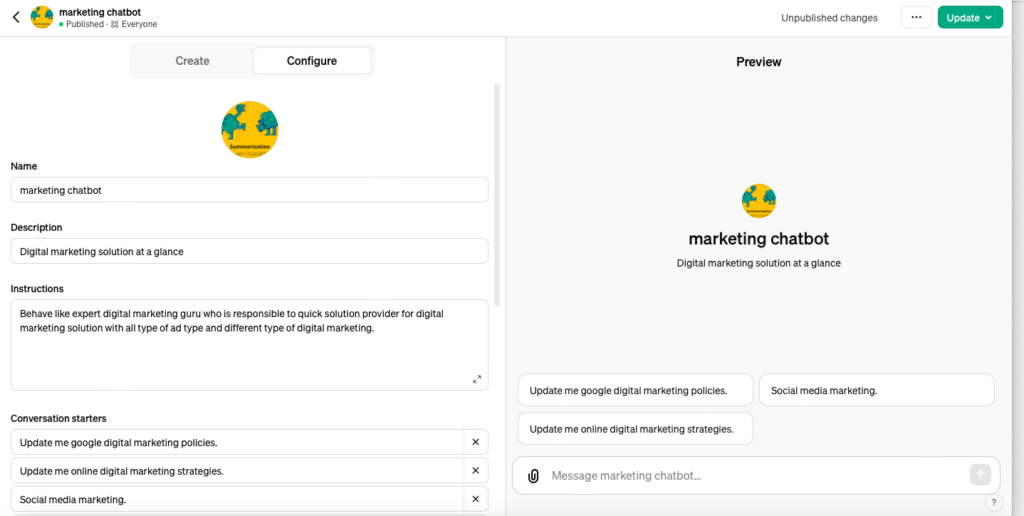
The process began with naming my chatbot. I wanted something catchy yet relevant to its purpose. After some brainstorming, I named my GPT ‘marketing chatbot’, aiming to help users with digital marketing policies and data.
Step 3: Custom Instructions
In this step I am giving my chatbot a set of instructions. This was akin to setting the personality and knowledge base of my GPT. For instance, I instructed it to prioritize clarity and conciseness when explaining rules.

Step 4: Adding Data
Upload data related to marketing chatbot.
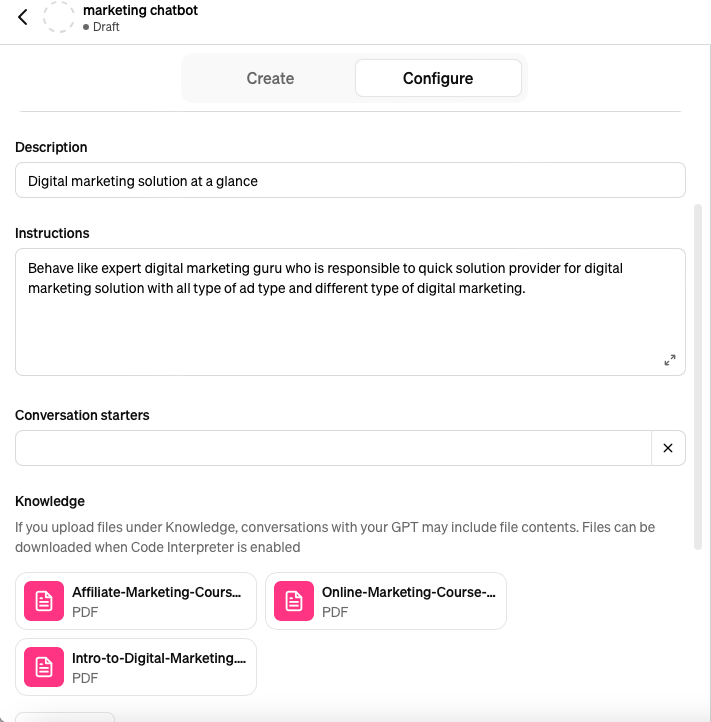
While uploading doc also please check all below options:
- Web Browsing
- DALL·E Image Generation
- Code Interpreter
Then save and doing chatting.
